Countertop Fabrication in Riverside, CA
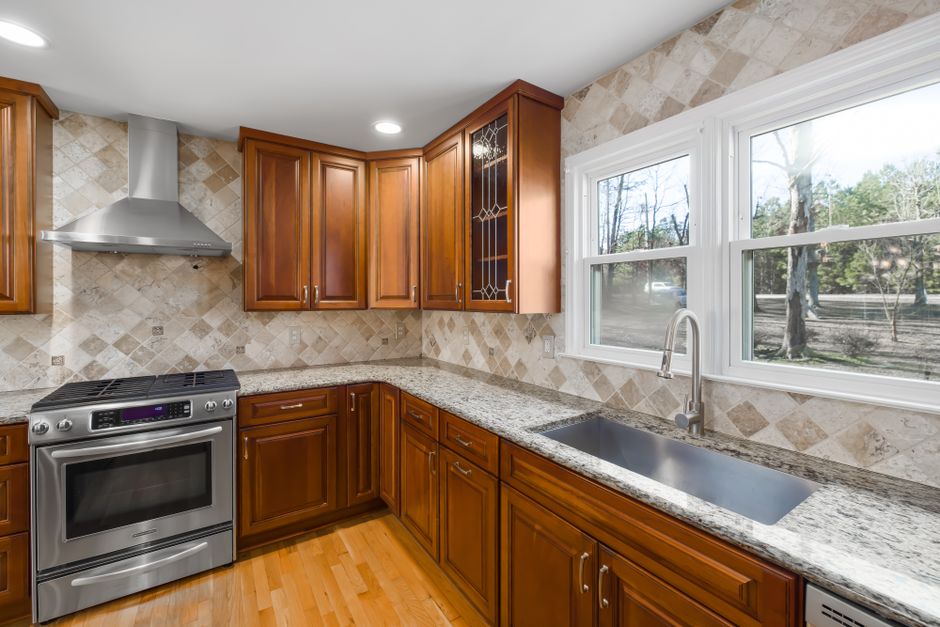
Plain answers about countertop fabrication in Riverside, CA. Learn how slabs are measured, cut, and installed, and how Inland Empire heat, dust, and hard water affect stone surfaces in your home.
What We Cover
- What Happens Between Templating and Installation A step by step look at how a slab is laid out, cut, edged, polished, and fitted before it arrives at your Riverside home.
- Which Countertop Material Handles Riverside Heat and Sun How granite, quartz, quartzite, marble, and porcelain slabs respond to strong sun, high heat, and outdoor kitchens in the Inland Empire.
- How to Deal With Hard Water Marks on Stone Countertops Why mineral spots form around Riverside sinks and faucets, and how to remove them without etching or dulling your countertop.
- How to Judge Seam Placement and Fabrication Quality What to look for in seams, edges, cutouts, and overhangs so you can tell careful countertop fabrication from rushed work.
- How to Prepare Your Kitchen for Countertop Templating What needs to be finished, chosen, and cleared before a fabricator measures your cabinets for new stone or quartz countertops.
- Does Santa Ana Wind Season Affect Countertop Installation How dry, dusty, windy days in Riverside County affect cutting, seam work, adhesives, and sealing during a countertop install.
Countertop Fabrication in Riverside, CA
Countertop work in Riverside follows six steps: pick a material, prepare the space, template, fabricate, install, and care for the surface. Each step depends on the one before it. Skipping ahead is where most problems start. The order holds from Jurupa Valley to the streets around University of California, Riverside.
Choosing a Material and Preparing the Space
Material comes first because it shapes every later step. Long hot summers across the Inland Empire put heat and sun on surfaces, so how a stone or quartz handles temperature and light matters as much as color.
Preparing the space means emptying the cabinets near the sink and cooktop, clearing the counters, and leaving open access to every run. Old cabinets should be solid and level enough to carry the weight of stone.
Template, Fabrication, and Installation
Templating records the exact shape of the cabinets, which matters most in older houses near the Mission Inn, where walls and floors are often out of square or level. The shop then cuts, edges, and polishes the slab to that pattern.
Installation is a day of lifting, leveling, shimming, and joining seams. Santa Ana winds carry dust that can settle on adhesive, so the work area stays closed and clean, including in neighborhoods near Mount Rubidoux or the Santa Ana River.
Caring for the Surface
Care is mostly about water and wiping. Hard water spotting is common in many Riverside County homes, and mineral rings form around faucets when droplets dry in place. Wipe standing water, use a soft cloth, and pick cleaners made for the material. Sealed stone resists marks longer, but sealing is routine upkeep, not a permanent fix.
Guides
The guides cover six topics: kitchen prep for templating, materials that handle Riverside heat and sun, the steps between templating and installation, Santa Ana wind season, hard water marks on stone, and judging seam placement and fabrication quality.
Every slab is unique, so a real visit and template matter more than a photo.
Latest Guides
Best Countertop Edge Profile for a Busy Riverside Kitchen
An eased edge is the best all-round profile for a busy kitchen. It is a square edge with the sharp corner lightly rounded, so it resists chipping better than a dead sharp corner, has no grooves to trap grime, and wipes clean in one pass. The other four profiles each win in a particular spot, and each has a cost in chipping, cleaning, or safety that is worth knowing before a fabricator cuts your slab.
Start With the Weakest Point: The Corner
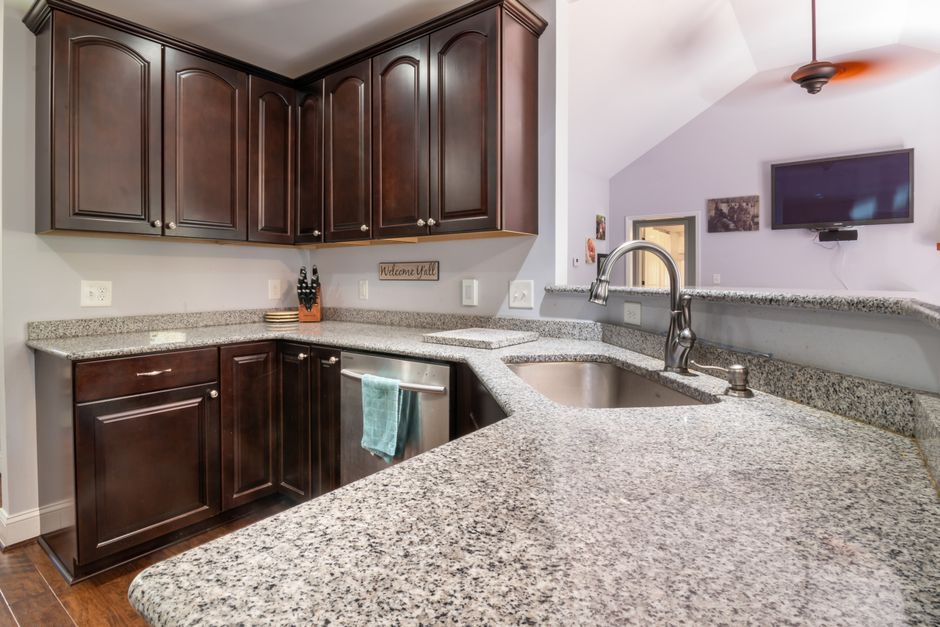
Every countertop edge chips at its corner first. A sharp 90 degree corner is the most fragile point on any slab, and a cast iron pan or a dish rack will find it quickly. So the first rule is simple: never accept a dead sharp edge. Even if you want a clean, square look, ask that every exposed corner be eased.
The edge profile is not just a style choice. It changes how often you clean, how many chip points you live with, and how forgiving the counter is when a hip, a chair back, or a stockpot meets it. In a busy kitchen, the fewer recesses and fine lips a profile has, the less cleaning and the fewer weak points you get.
Eased Edge: The Practical Default
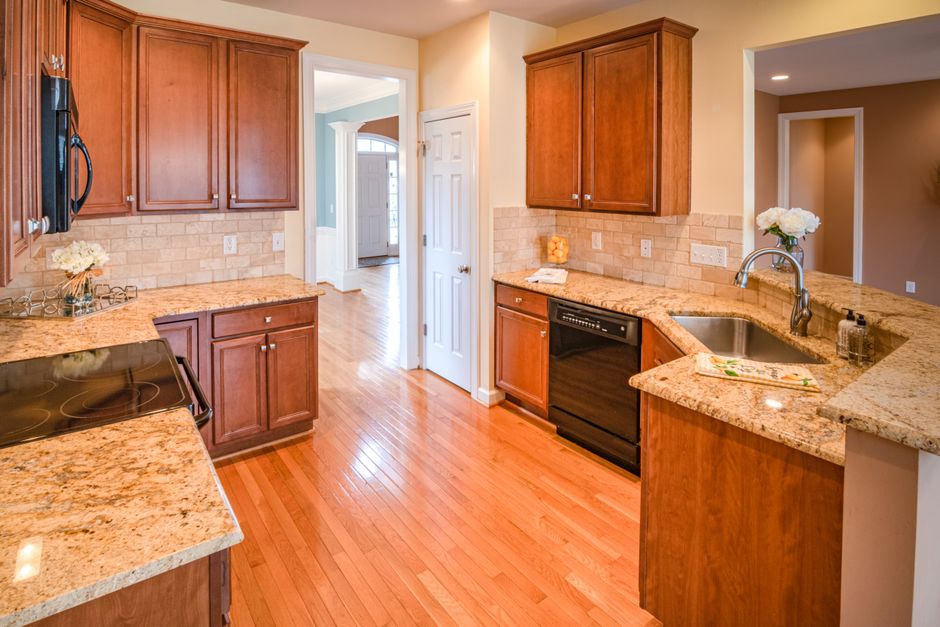
The eased edge keeps the modern square look while removing the brittle corner. It has no grooves, no seams, and no fine lips. A cloth moves along it without catching.
Its drawback is mostly visual. It is plain, and it will not give a kitchen the sculpted look of a decorative profile. For a household that cooks daily, that trade is usually worth it.
Bevel Edge: Crisp and Easy to Clean
A bevel cuts a flat angled face along the top corner. It removes the weakest point and cleans almost as easily as an eased edge. It reads as a tidy, tailored line.
The catch is that a bevel creates two lines instead of one. If a small chip does happen, it can look more obvious against that crisp geometry. A bevel works well on a main work run when you like the sharper look and are careful about heavy cookware near the edge.
Bullnose: Full and Half
A full bullnose rounds both the top and the bottom of the edge. With no hard corner to break, it is very forgiving of impacts. It is also gentle on hips and on small children at head height, which matters in a family kitchen where traffic is constant.
The tradeoff is spills. Liquid can roll over the rounded edge and under it, ending up on cabinet fronts and the floor instead of stopping at the edge. A full bullnose is not the right choice for every kitchen.
A half bullnose rounds the top and leaves the bottom flat. It keeps much of the comfort and chip resistance of the full version, and liquid tends to drip straight down rather than wrapping underneath. For many busy kitchens it is a sensible middle path.
Ogee Edge: Beautiful, but Choose Its Location
An ogee is a decorative S shaped curve. It has a recessed channel and fine lips, and those features collect crumbs, grease, and residue. The lips are also thinner points that can chip under impact.
That does not mean an ogee has no place in a kitchen. It suits a low traffic island end, a bar section, or a formal space far better than the main prep run beside the stove. If you love the look, keep it away from the cooking and cleanup zones and use a simpler profile where the work happens.
Mitered Edge: The Thick Look With a Joint
A mitered edge joins a strip of stone to the top at an angle so the counter looks like one thick slab. The result is bold and clean, and it works nicely on islands.
It is not one solid block, though. A glued joint runs along the edge, and a hard knock right at that joint can open it or chip it. Quality depends heavily on tight cuts and a well color matched adhesive. Check that the seam is narrow and evenly filled on your sample.
Many thick looking edges on thinner slabs are also built up by gluing a strip underneath. Look for the seam line on the edge face of a sample, and ask whether your edge will be solid stone or built up.
Side by Side for Everyday Use
- Eased: Best chip resistance for its simplicity, easiest to clean, safe for most uses.
- Bevel: Very easy to clean, removes the weak corner, but a chip shows more on the crisp line.
- Half bullnose: Comfortable and forgiving, with drips falling straight down.
- Full bullnose: Most forgiving of impacts and kindest to hips and children, but spills can wrap underneath.
- Ogee: Most decorative, hardest to clean, and has thin lips that can chip.
- Mitered: Strong visual weight, but the glued joint is a point to inspect and protect.
For the main work areas, eased, bevel, and half bullnose are the safest general picks.
Match the Profile to the Zone
The highest impact zones are the dishwasher run, the sink front, and the cooktop area, where heavy pans and dish racks come close to the edge. Put your most forgiving profile there and keep any decorative profile away from them.
Islands need their own thought. On an island that sits in a walkway, ask for rounded or clipped outside corners. A square outside corner at hip height is both a bruise point and a chip point. Where people sit, choose an eased or bullnose edge, because chair backs and stool frames hit the edge again and again.
Material Changes the Answer
Profile and material work together. Granite and quartzite edges generally take impacts well. Marble and other softer stones scratch and chip more easily, so choose a more rounded profile with them. Engineered quartz is tough on the surface but can still chip at the edge from a sharp blow, so it is not chip proof.
Porcelain and sintered slabs need extra care. On many of them the pattern sits mainly on the surface, and heavy profiles like ogee or bullnose can cut through to a plain body color. Fabricators commonly use eased or mitered edges on these slabs, so ask before you choose a profile.
Riverside Hard Water and the Sink Edge
Riverside tap water is hard, and mineral film and white scale build up wherever water dries on an edge. The worst spots are around the undermount sink cutout and inside any ogee groove. Wipe the sink edge dry after heavy use. A simple eased or bullnose sink edge is far easier to keep scale free than a grooved one.
Remove scale with a stone safe descaler and a pH neutral cleaner. Vinegar and acidic sprays are not safe for every stone, since acids etch marble and limestone and can dull the polish on some others. In grooved profiles, use a soft brush rather than an abrasive pad.
Natural stone edges need sealing too. The edge gets more hand oil and splash than the field of the counter. Do a water drop test on the edge as well as the top, and if the stone darkens within a few minutes, it is time to reseal. Sealing protects against staining, not chipping, so it does not make an edge harder. Engineered quartz does not need sealing.
Check the Edge at Install
Run your hand along the entire edge. It should feel consistent, with even polish, no rough spots, and a matching profile at seams and corners. If your counter has mitered or laminated joints, confirm they are tight and evenly filled before the installers leave.
If a Chip Happens Anyway
A small edge chip is usually repairable. A fabricator can typically fill it with color matched epoxy or resin and polish it back, and a chip does not mean the whole countertop must be replaced. If you find the broken fragment, save it, since a clean piece can sometimes be bonded back in place.
Habits prevent most chips:
- Lift cast iron and heavy stock pots clear of the edge.
- Never use the counter edge to pry lids or crack items.
The Short Answer for Your Kitchen
Choose an eased edge, or a half bullnose if you want extra softness, for the sink, dishwasher, and cooktop runs. Use a bevel if you prefer a sharper line. Save an ogee for a low traffic island end, and treat a mitered edge as a design choice that needs a close look at its joint. Pair the profile with your material, and ask to see an edge sample in the actual slab before anything is cut.
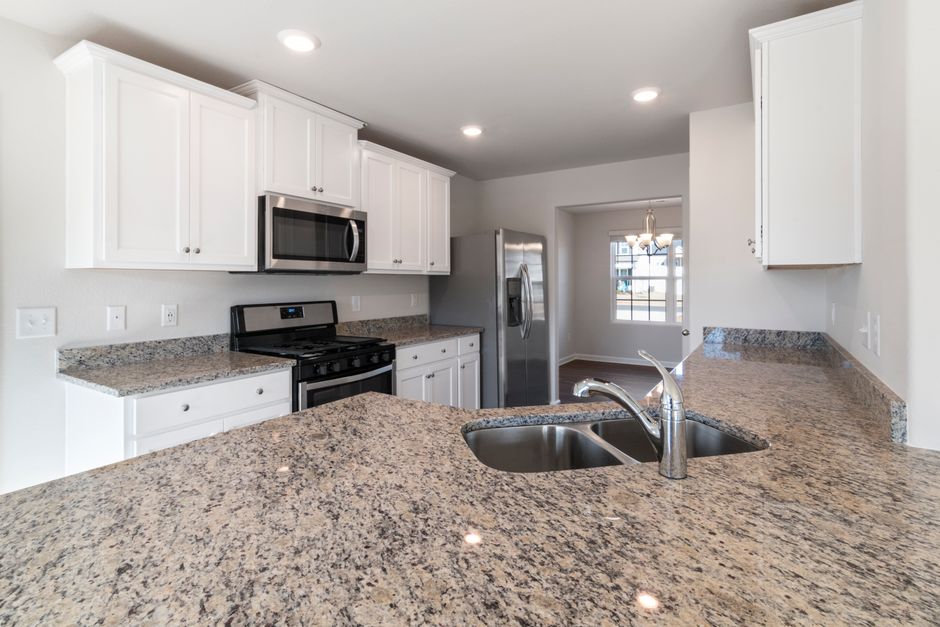
Can Existing Cabinets Support a Heavy Stone Countertop in Riverside?
Most intact cabinets in Riverside kitchens can carry a granite, quartz, or porcelain countertop, and condition decides the answer far more than the brand or the material. A builder-grade particleboard box in good shape often holds stone without trouble, while a pricey cabinet with a leak-damaged sink base may not. The checks below take an afternoon with a level, a screwdriver, and a flashlight, and they settle the question before a fabricator ever templates.
Start With What the Stone Weighs
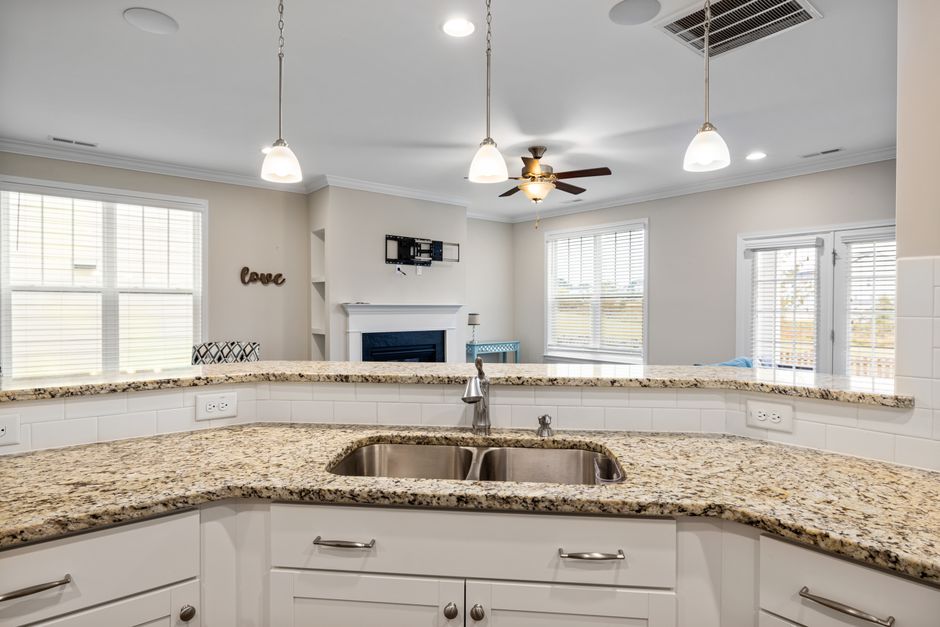
A 3 cm slab of granite or quartz weighs roughly 18 to 20 pounds per square foot. Stone at 2 cm is noticeably lighter, and thin porcelain is a fraction of either. Across a full kitchen, 3 cm stone easily adds up to many hundreds of pounds spread along the cabinet run.
Quartz is not dramatically lighter than granite, so switching materials will not rescue a weak cabinet. Porcelain is light, but it brings its own support requirements, covered below.
Weight does not travel through shelves or doors. It moves down the cabinet side panels to the floor. That means sound side panels and a sound floor under them matter more than whether the box is marketed as premium.
Which Cabinets Can Carry Stone
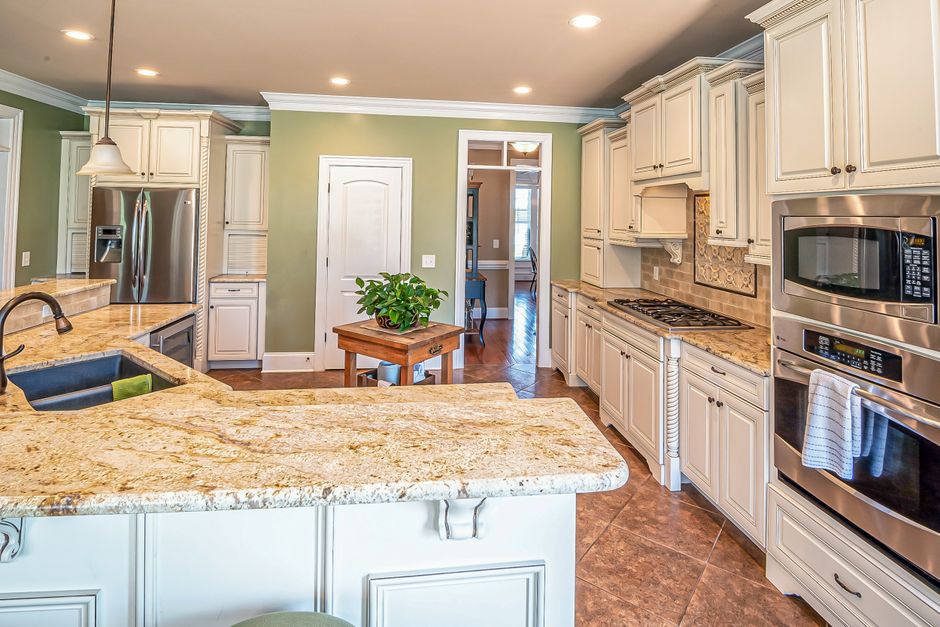
Many Riverside tract homes built from the 1970s through the 2000s have particleboard or MDF boxes. Those can carry stone when they are dry, intact, and firmly assembled. The material label is not the verdict. Swollen, soft, or crumbling panels are the problem, no matter what the box is made of.
A stone top will also not stiffen or strengthen a weak cabinet. If a box is failing, the stone simply sits on top of the failure until something gives.
Check the Sink Base First
The sink base is where hidden damage most often lives. Slow drips from supply lines, drain connections, and the faucet collect on the cabinet floor and soak into the lower sides.
- Press firmly with a thumb on the cabinet floor and the lower side panels.
- Probe with a screwdriver tip. Wood-based panels that feel spongy, crumble, or let the tip sink in have lost their strength.
- Look for swelling, dark staining, and edges that have peeled or delaminated.
A damaged sink base should be replaced or rebuilt before templating. This box carries the heaviest point loads in the kitchen: stone around the cutout, a sink full of water and dishes, and the sink itself.
Check the toe kick and the cabinet bottoms along the dishwasher and refrigerator line too. Leaks there often go unnoticed for years, and swelling or staining at the base is the giveaway.
Test for Level and Flatness
Stone does not flex to follow dips and humps the way laminate does. Set a 4 foot level on each cabinet top, running front to back and then side to side. Then lay a long straightedge or stretch a string line across the whole run to see the overall profile.
Fabricators generally want cabinet tops flat to within about 1/8 inch over 10 feet before they template. A bigger variation needs correcting first.
Level is fixed at the cabinets. That means shimming at the base and at the top edges, with the boxes screwed tight to the wall. Shims and adhesive under the stone are not a substitute. Stone resting on high spots while bridging a low spot is a common cause of cracks, especially at sink cutouts, where the remaining stone is narrow.
Open and Close Everything
Work every door and drawer. Doors that no longer meet evenly, or drawers that rub and bind, point to a racked box that has gone out of square, or to a floor problem underneath. Square-up repairs belong before the stone, not after.
Older solid wood face frames deserve a look as well. Riverside's inland heat and dry Santa Ana winds can shrink wood and loosen glue joints over decades. Since the stone edge often bears on the frame, tighten or reglue any loose joints.
Confirm the Anchoring
Each cabinet should be screwed into wall studs and fastened to its neighbors through the face frames or sides. Wiggle the boxes and look inside for screws at the back rail.
Riverside is seismically active, and a heavy top on loose cabinets is more likely to shift or crack during shaking. Secure anchoring matters more here than in quiet regions.
Islands and peninsulas have no wall to lean on. They must be fastened to the floor through cleats or blocking. Push firmly on an island, and if it rocks, fix that before stone goes on.
Look Under the Kitchen
Floors can be the real culprit. The right check depends on how the house is built.
Raised Foundation Homes
Many older Craftsman and period houses in the Wood Streets and around downtown sit on raised foundations. Floor joists under the kitchen can sag over time. If a cabinet run dips in the middle, the repair may belong in the crawlspace rather than at the shims.
Slab Homes
Parts of the Inland Empire sit on clay soils that shrink and swell. Diagonal cracks in drywall, doors that stick, or a visibly cracked slab near the kitchen are worth evaluating before adding a rigid, crack-prone top.
Spots That Need Extra Support
Stone needs to be supported along its edges and at seams, and some cabinet layouts do not provide that on their own.
- Sink bases: A heavy cast iron or fireclay farmhouse sink needs its own support frame or cleats tied into the cabinet sides, not just the stone.
- Dishwasher opening: This is an unsupported span, so the cabinet sides on both flanks must be solid. Expect the installer to add support where needed. Dishwasher brackets should attach to the cabinet sides or use stone clips, never screws into the stone.
- Blind corners and lazy susan corners: These often lack top rails or corner support. Ask for added cleats or ledgers.
- Overhangs: Small overhangs on 3 cm stone are usually fine unsupported, but bar-height or seating overhangs need corbels or hidden steel brackets anchored into the cabinets or framing. Thickness alone does not make any overhang acceptable, so follow the fabricator's limit for the specific material.
Thickness and Material Change the Support Plan
Thin materials need more support, not less. Porcelain slabs and 2 cm stone usually call for a continuous flat substrate or more frequent supports, per the manufacturer. A 3 cm top typically sits directly on the cabinet tops and rails. A plywood subtop is not automatically required for 3 cm stone, so let the fabricator and the slab maker's guidance decide.
If Old Tops Are Coming Out
What comes off first affects what you inspect afterward.
- Laminate: Removal usually means backing out screws from below. Afterward, check that the top rails and corner blocks are intact and solidly attached.
- Tile on a thick mortar bed: Many 1950s and 1960s Riverside kitchens still have this. Tear-out is heavy demolition and can crack top rails and loosen face frames. Inspect and repair the boxes after demolition, not before.
Plan Around Height and Fit
A thicker stone top, any build-up layer, and shims all raise the counter. That can change how a slide-in range lines up, how tall the backsplash reads, and where outlets land. Think through these before the template, not after.
Finish Repairs Before Templating
Every repair, leveling job, and anchoring fix should be done before the fabricator templates. A change afterward can leave the cut stone fitting poorly, and stone is rarely forgiving about a second try.
If new cabinets are on the horizon within a few years, install them first. Stone removed from old cabinets often breaks and usually cannot be reused.
Outdoor Kitchens Are a Different Case
In Riverside's sun and heat, outdoor kitchens need masonry, metal, or rated outdoor bases. Indoor-style wood cabinets will not hold up structurally outside. Material matters too: quartz is generally not suited to direct sun, while porcelain and granite handle UV well.
When to Call a Fabricator or Cabinet Pro
If the sink base is soft, the floor dips, the boxes are racked, or doors and cracks suggest movement in the structure, get those items looked at before stone is ordered. Cabinets that pass the checks above are usually ready for a template, and a fabricator can confirm the details for the specific slab, thickness, and sink you have chosen.
Nearby Service Areas
We also cover kitchen countertops in Temecula, CA.